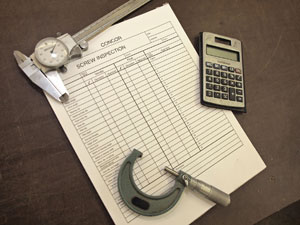
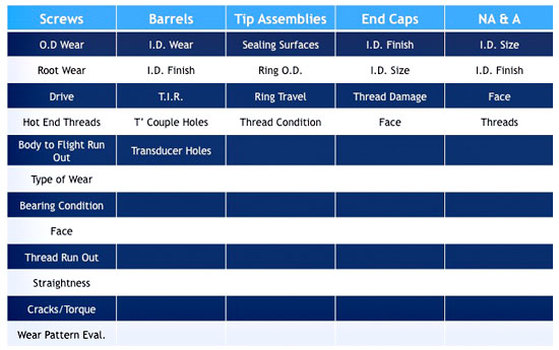
All parts coming into Concor are inspected and evaluated. In order to determine the best course of action it is also helpful to have a conversation where we can learn the history of the parts, machine parameters, settings, how long have they run, what materials do they process, what are the issues and concerns. A data request form can be used to give those details.
Barrel Total Indicator Run-Out Inspection:
The straightness of the barrel bore is critical and is almost impossible for molders to check. Concor uses actual indicators rather than test bars to inspect how true a barrel runs. Click here to view a chart on TIR.
Onsite Inspections:
When time does not permit for the screw and barrel to be sent to Concor, we can arrange for one of our employees or reps to come to your facility to evaluate wear. A number of our reps carry dial bore gage sets to measure barrel wear. Dial bore gages enable you to measure I.D. wear for the entire length of the bore. Bore gages and extension rods are available for purchase.
Outgoing inspections
Final inspections are done on all screws and barrels shipping from Concor and are available upon request.
Customer history
Concor keeps detailed records of all work performed for each customer. Each part is documented… incoming inspections, part identification, hardness, materials, print numbers, dates, and work performed. We even document which employee performed each operation. Final inspections are recorded and can be retrieved easily. How often certain items are ordered helps us determine what we might want to keep in stock.
Part History
Part history is very important. We are able to track a single part throughout it’s “lifetime”… when it was built, what it was made out of, what materials were used, etc… We can see each time the part was returned to Concor for evaluation, repair, or rebuilding. We note the condition of the part, where the wear is located and what work was performed. Noting and evaluating the wear patterns and dates, we can often recommend options to improve wear life.


